4 ways to collect payments with Google Forms
Google Forms doesn't have a built-in payment feature. But if you're already using it to collect registrations, orders, or sign-ups, there are a few ways to add payments on top. The solutions range from a simple link in the form or a confirmation message to payment add-ons and a dedicated form builder that accepts payments.
This blog post covers four methods to collect payments in Google Forms, listed in order from the least to the most elegant solution. We'll dive into each solution in detail, so that you can choose the one that suits your use case best.
Method 1. Add a payment link to the confirmation message
After someone submits your form, Google Forms displays a confirmation screen. You can customise this message and include a payment link to PayPal, Stripe, a bank transfer page, or wherever you collect money. Although it is not the most elegant or reliable solution, it is an easy and free way to ask respondents for a payment.
How to set it up:

- Open your Google Form and click Settings at the top.
- Go to the Presentation tab.
- Click the edit icon next to Confirmation message.
- Write your message and paste in your payment link. For example: "Thanks for registering! Please complete your payment here: [link]"
- Click Save.
Respondents will see this message immediately after they submit the form.
What to keep in mind: The form submits regardless of whether anyone actually pays, and there's no way to verify payment before a response goes through. Google Forms also doesn't send a custom confirmation email, the confirmation message only appears on screen right after a respondent submits the form. If you want to follow up by email, you'd need to do that manually or via a separate tool.
Practically speaking, a plain text link in a confirmation screen doesn't look particularly professional, therefore it's not something you'd want to rely on if you're collecting payments regularly or from people who don't know you. But as a quick workaround when you need to add payments to an existing Google Form, it does the job.
Best for: low-volume, informal use cases where you know the respondents (for example, a club collecting annual fees, a one-off event, a small workshop).
Method 2: Embed a payment QR code or link inside the form itself
Instead of waiting until after submission, you can provide a link to the payment directly inside the form, visible before or during filling it out. However, this approach still doesn't let you collect payments within the Google Form itself, as respondents would need to go to a third-party website to complete the payment. This way, there's still no guarantee they would actually make the transfer.
Add a link in the description of the form

This is a pretty straightforward set-up. Simply go the section description field, and paste your payment link into the text. You can also write instructions around it, e.g. "Please pay before submitting: [link]"
Add a QR code linking to the payment
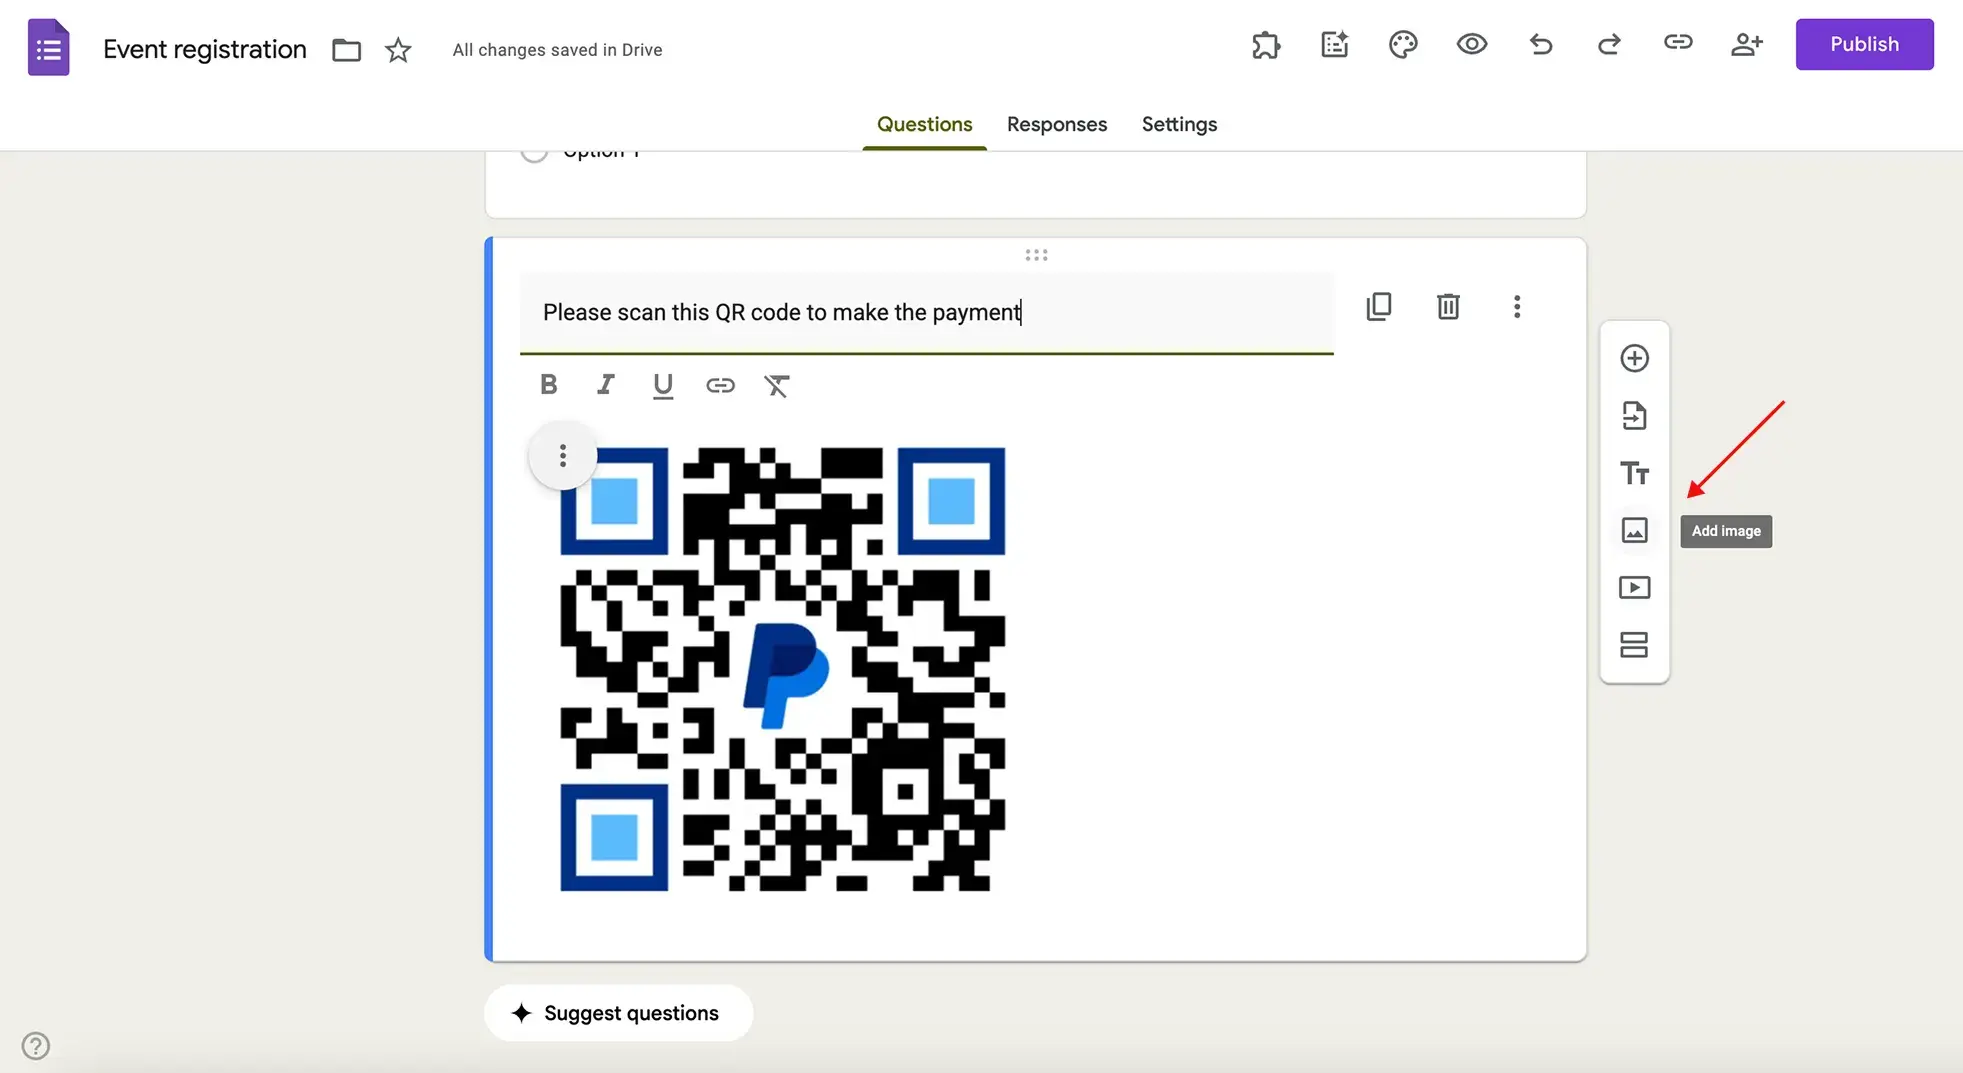
- Generate a QR code from your payment link
- Download the image.
- In your form, click the Add image icon in the right sidebar and upload the QR code.
- Add a description instructing respondents to scan it.
What to keep in mind: same limitation as the first method, there's no verification and it doesn't look very professional on your part. Someone can skip the payment link entirely and still submit. The QR code variant works best for in-person contexts where respondents are on mobile.
Best for: situations where you want payment upfront and visible, or in-person events where QR codes are practical.
Method 3: Use a payment add-on (Payable Forms or PayQ)
For a more integrated experience, there are Google Workspace add-ons that connect your form to a real payment processor and redirect respondents to a checkout after submission.
The two most commonly used are Payable Forms and PayQ.
Payable plugin
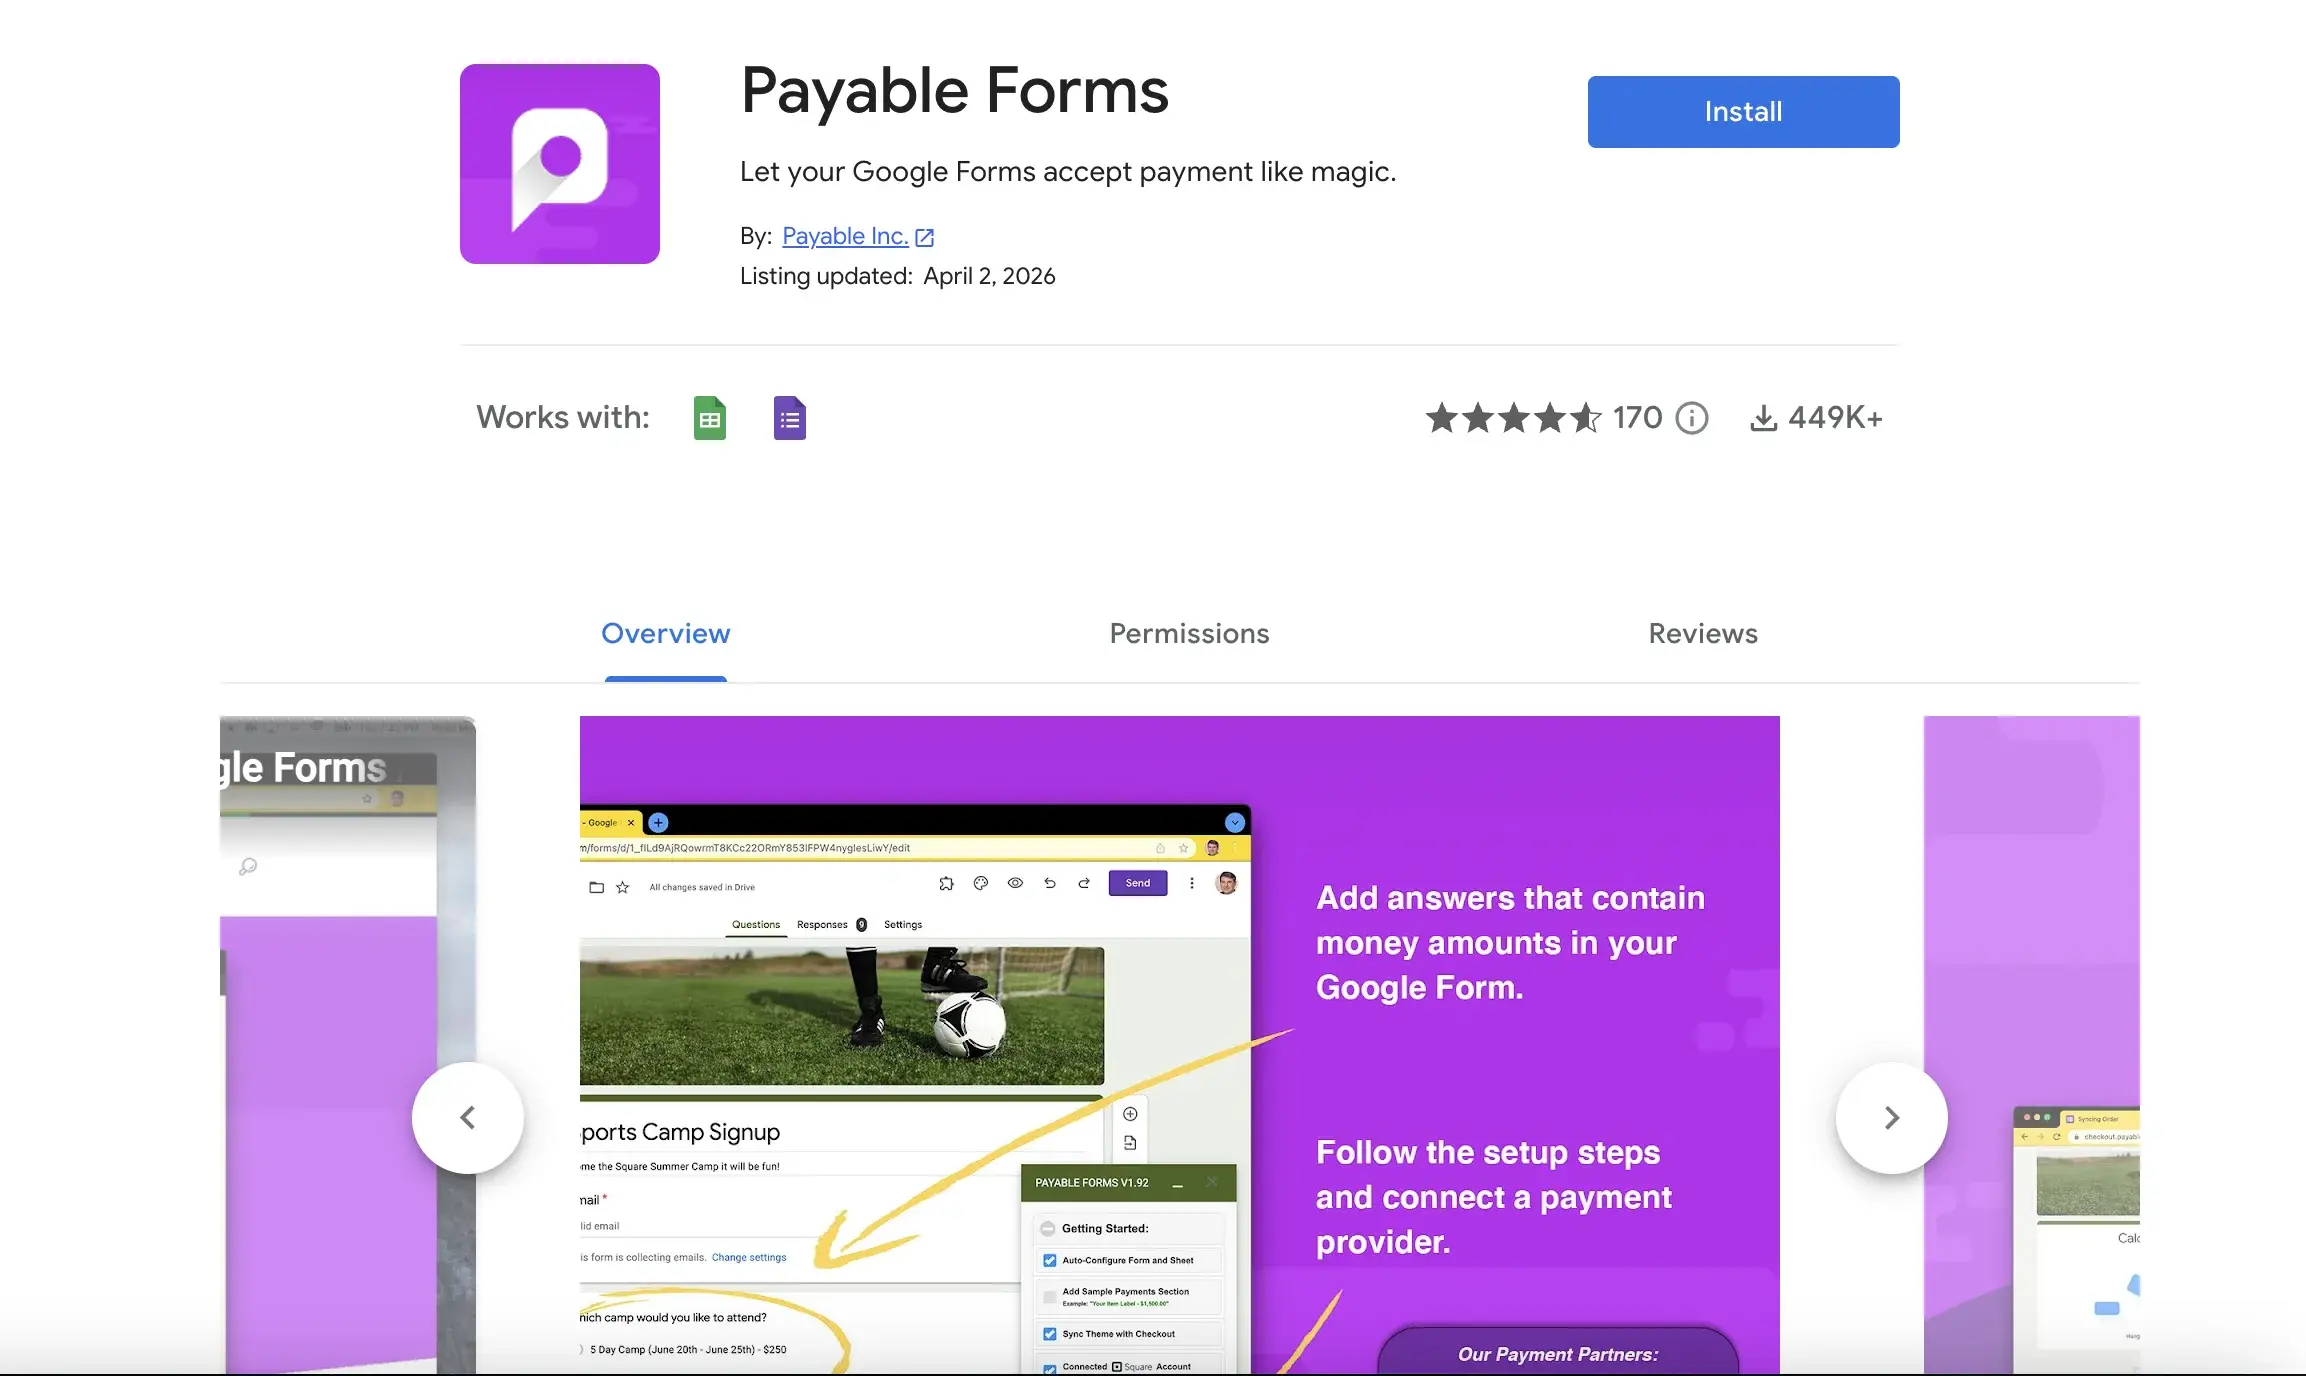
Payable Forms connects to PayPal, Stripe, Square, Venmo, Apple Pay, and Google Pay. It calculates the amount due based on the answers selected in your form — so if someone picks a ticket type or a service tier, it works out the total automatically. Respondents are taken through a hosted checkout that matches your form's theme, and payment status is written back to a linked Google Sheet automatically.
Pricing is per transaction: free for payments under €5, €0.49 flat for €5–€50, and 1% for amounts over €50. No subscription. Your payment provider (PayPal, Stripe, Square) will also charge their own transaction fees on top.
PayQ
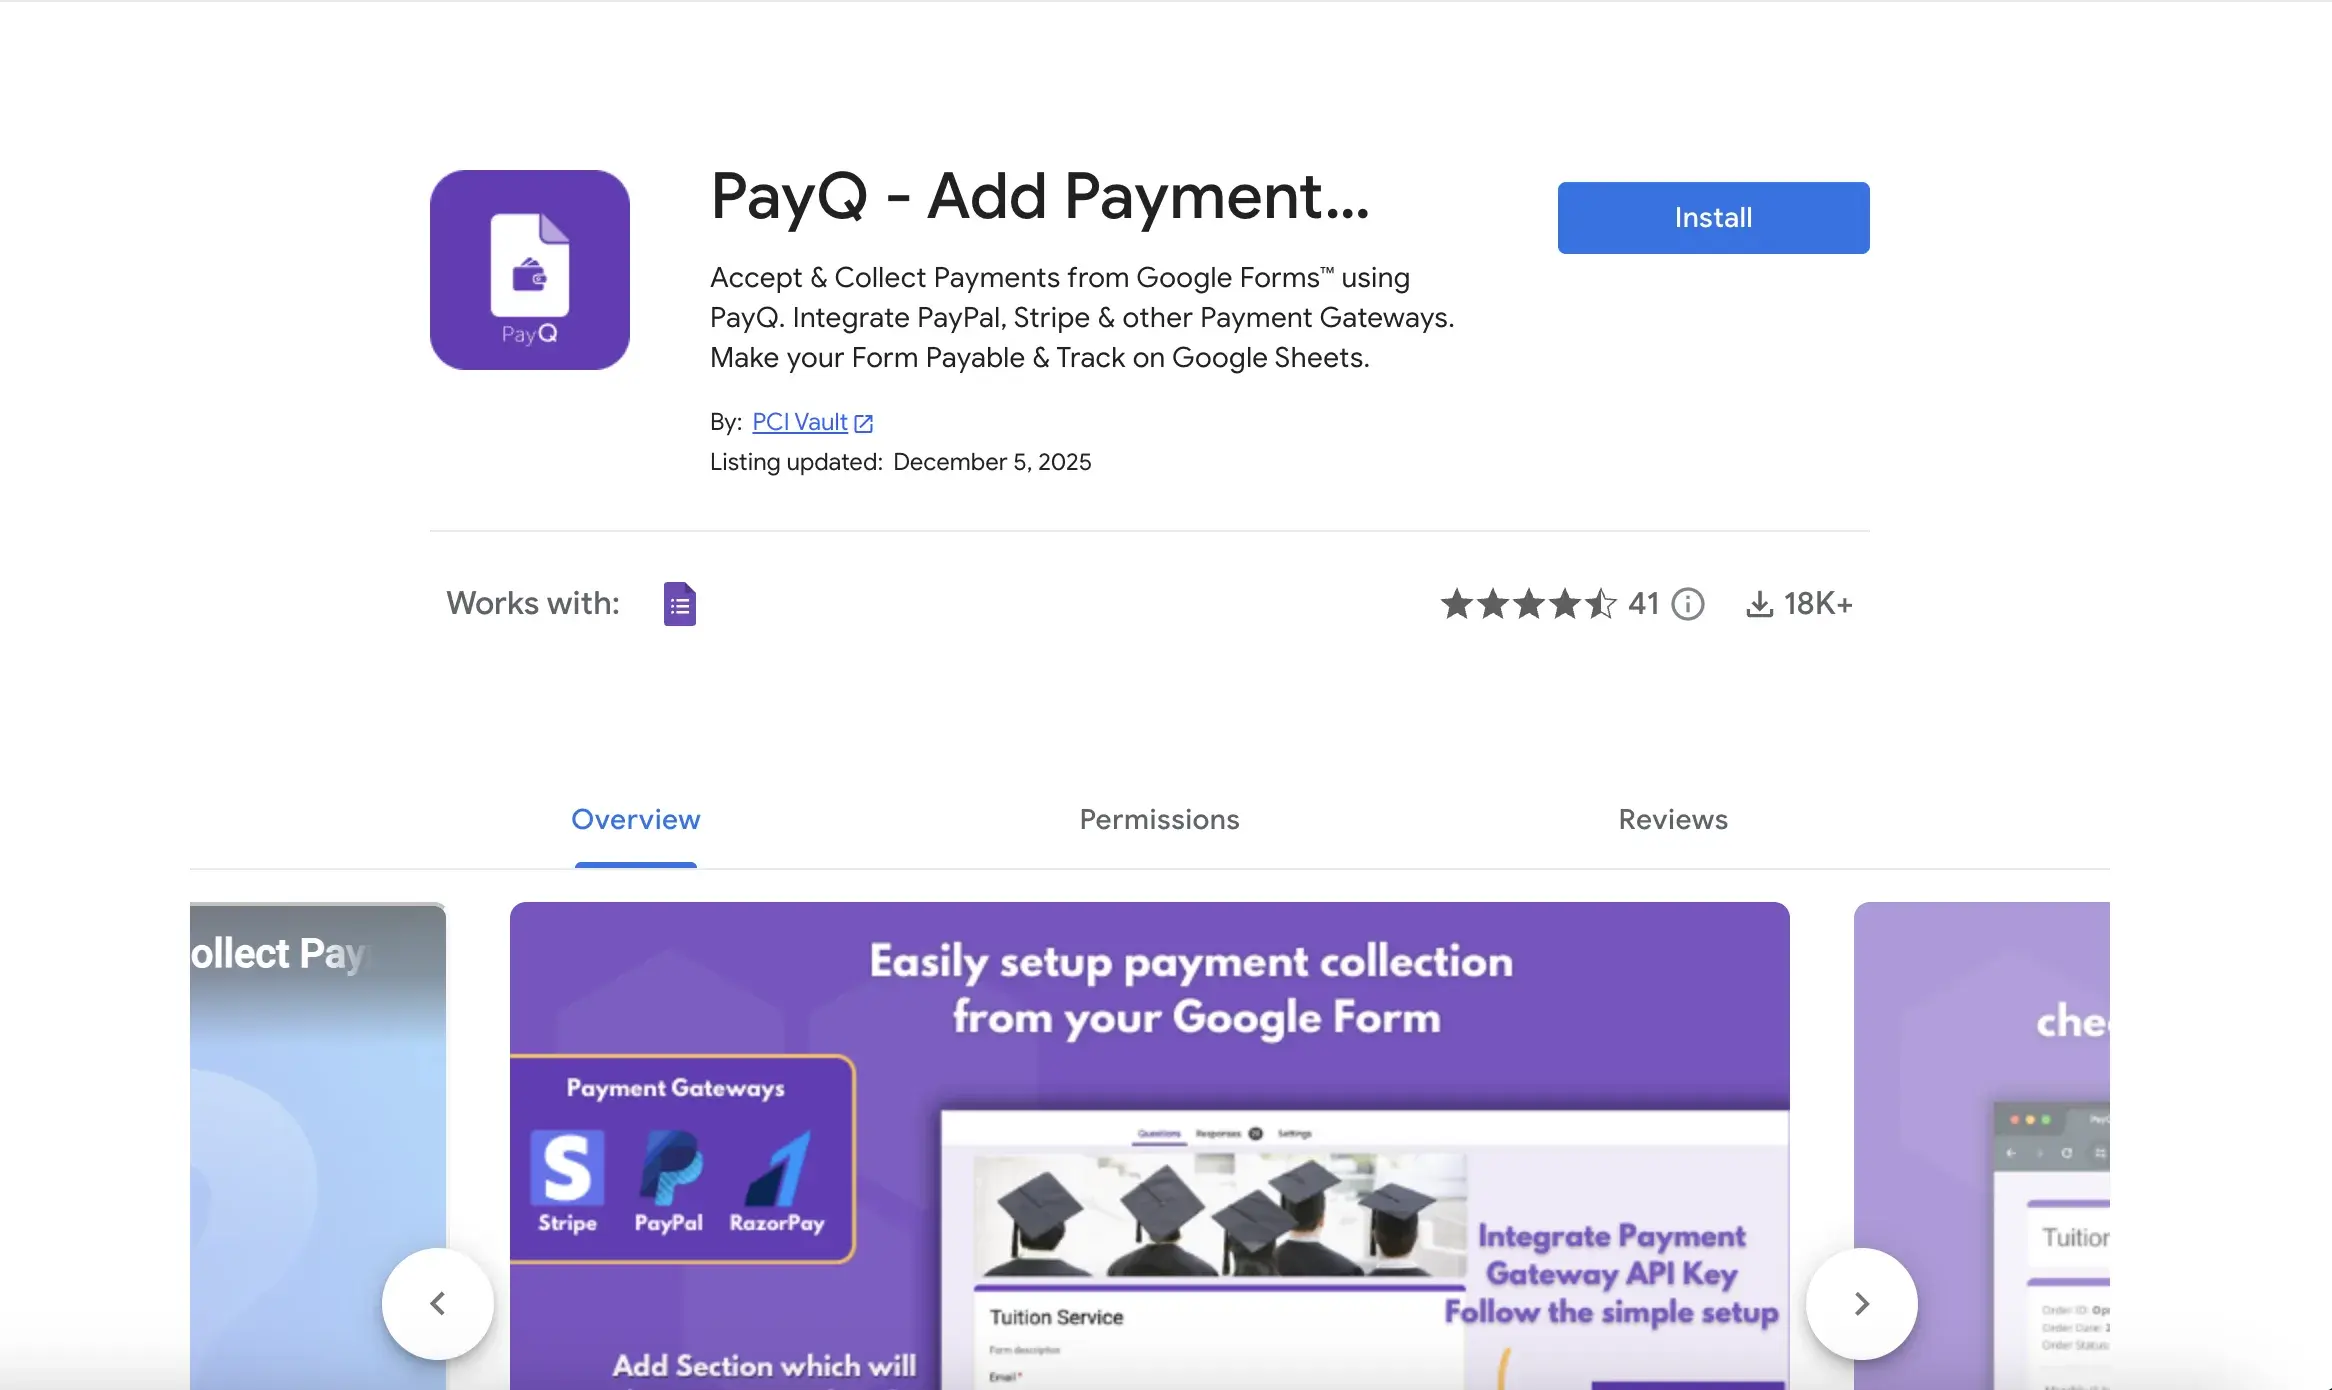
PayQ integrates PayPal, Stripe, RazorPay, and other payment gateways. The add-on supports a range of input styles including radio buttons, checkboxes, dropdowns, and grids. It also supports promo codes and additional charges like tax or handling fees.
How to install either add-on:
- Open your Google Form and click the three-dot menu (⋮) in the top-right corner.
- Select Get add-ons.
- Search for "Payable Forms" or "PayQ".
- Click Install and follow the prompts.
- Once installed, open the add-on from the same menu and follow the setup steps to connect your payment provider and assign prices to your answer options.
- Toggle the form to "Payable" mode and test before going live.
What to keep in mind: you're managing three separate things — the form, the add-on, and the payment processor. The checkout happens outside Google Forms, redirected by the add-on. Setup takes longer than Methods 1 and 2, and both add-ons are paid tools.
Best for: event registrations, product orders, membership sign-ups, or any use case where you need verified payment and automatic tracking.
Method 4: Import your form to Weavely and add a payment integration
As you can see, it is only possible to collect payments with Google Form by using extra tools or not the most elegant solutions like payment links in a form description. There is, however, another approach that lets you create payment forms for free and based on your original Google Form.
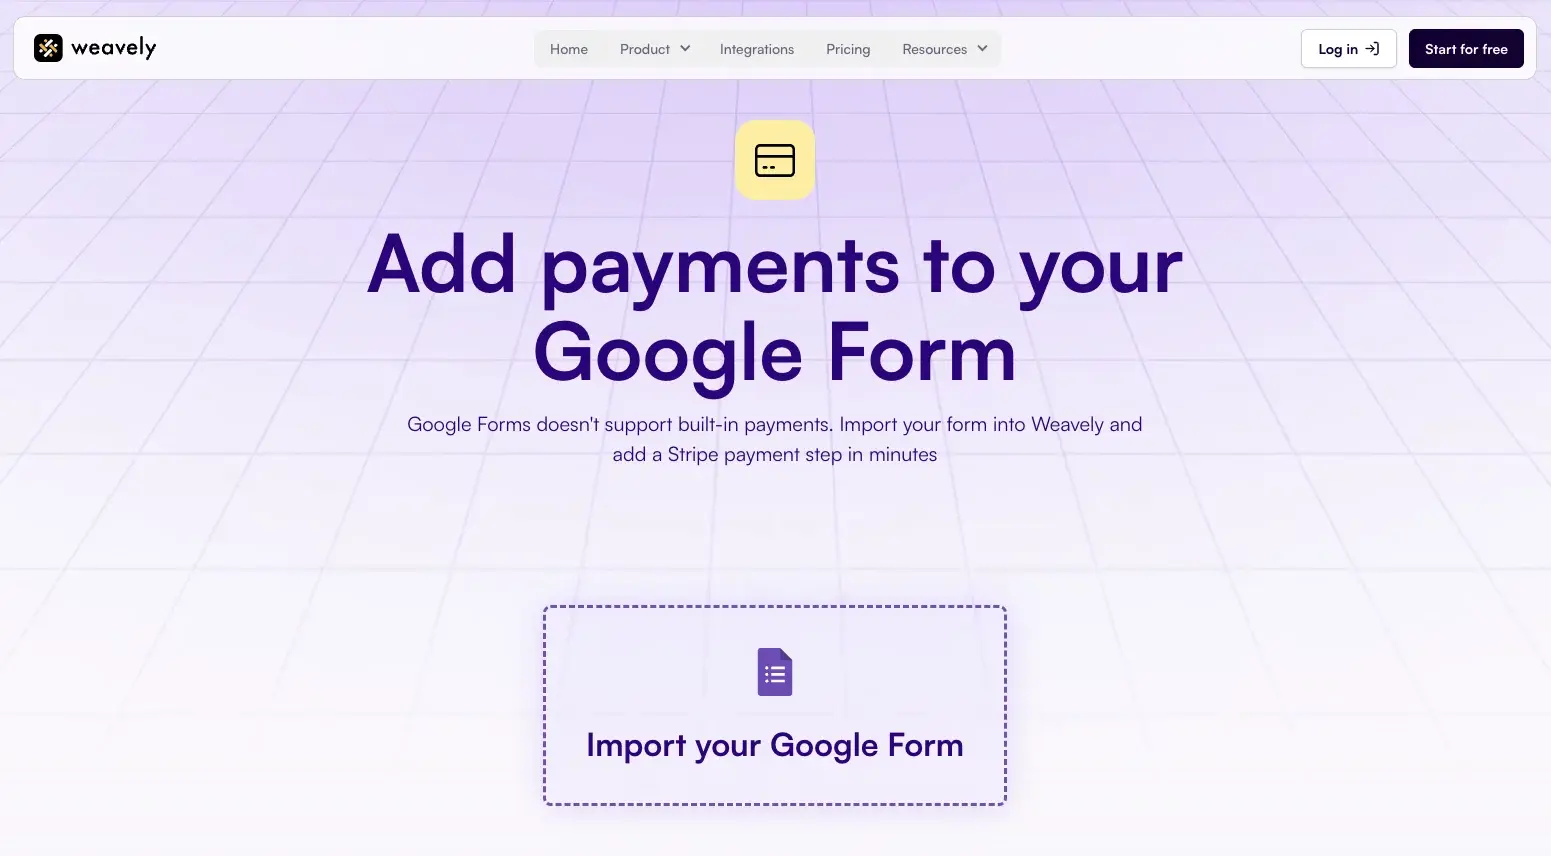
If you've already built a form in Google Forms and want to collect payments without managing add-ons, you can import it directly into Weavely - an advanced AI form builder with a free Stripe integration. The import precisely recreates your form, including questions and structure, so you're not starting from scratch.
How to set it up:
- Go to weavely.ai/google-form/add-payments-to-your-google-form and click Import your Google Form.
- Paste your Google Form link and confirm the import.
- Optionally edit your form - update the design or add conditional logic, password protection, and more.
- Add a Payment step and connect your Stripe account.
- Publish your form and start accepting payments straight away.
Weavely offers unlimited form submissions and unlimited payment collection on its free plan.
What to keep in mind: When transferring your Google Form to Weavely, if you've already started collecting responses, those won't be carried over to Weavely.
Best for: event registrations, membership sign-ups, subscriptions, donations, or any use case where you need verified payment and robust data analytics.

Tatiana is the Growth Marketing Manager at Weavely, where she's spent nearly four years running marketing end to end. From campaign strategy to the SEO content that brings new readers to the platform. Working day to day on a form builder gives her a front-row seat to what actually makes forms, surveys, and landing pages convert, and that's what she writes about here: practical, tested advice on lead generation and form design. Before Weavely, she led brand and SEO work at Digital Leap and cut her teeth on B2B and B2C content at Ruddy. She's based in Brussels.
