How to add MCP servers to Claude (free and paid)
Claude provides powerful ways to automate and enhance your workflows through integrations. Whether you're on Claude's free tier or have upgraded to a paid plan, setting up integrations with MCP servers (like Weavely.ai) is straightforward. In this practical guide, we'll walk through the specific steps for each scenario.
Adding MCP Servers to Claude for Free Users
You can add integrations to Claude and extend its capabilities. Even if you're not paying for a premium Claude license. To be fair, it's not the most user-friendly experience, but it gets the job done. This does require you to use the Claude desktop app. Here's how to do it in three simple steps:
Step 1: Create or Locate the Configuration File
When you start the Claude desktop app it will automatically set up all MCP servers it finds in a file called ClaudeDesktopConfig.json. The first step is to either locate the file and open it or create it if it doesn't exist yet:
- For Windows users, the file is located under "%APPDATA%\Claude\claude_desktop_config.json".
- For Mac users, the file is located under "~/Library/Application Support/Claude/claude_desktop_config.json".
Step 2: Add MCP Server Details
Once you've located the file or created it, you'll want to add the configuration for the MCP server. This is specific to each MCP server. For example, these are the details for the Weavely.ai MCP which enables you to build forms and surveys using AI in Claude:
Step 3: Restart Claude & Test the Integration
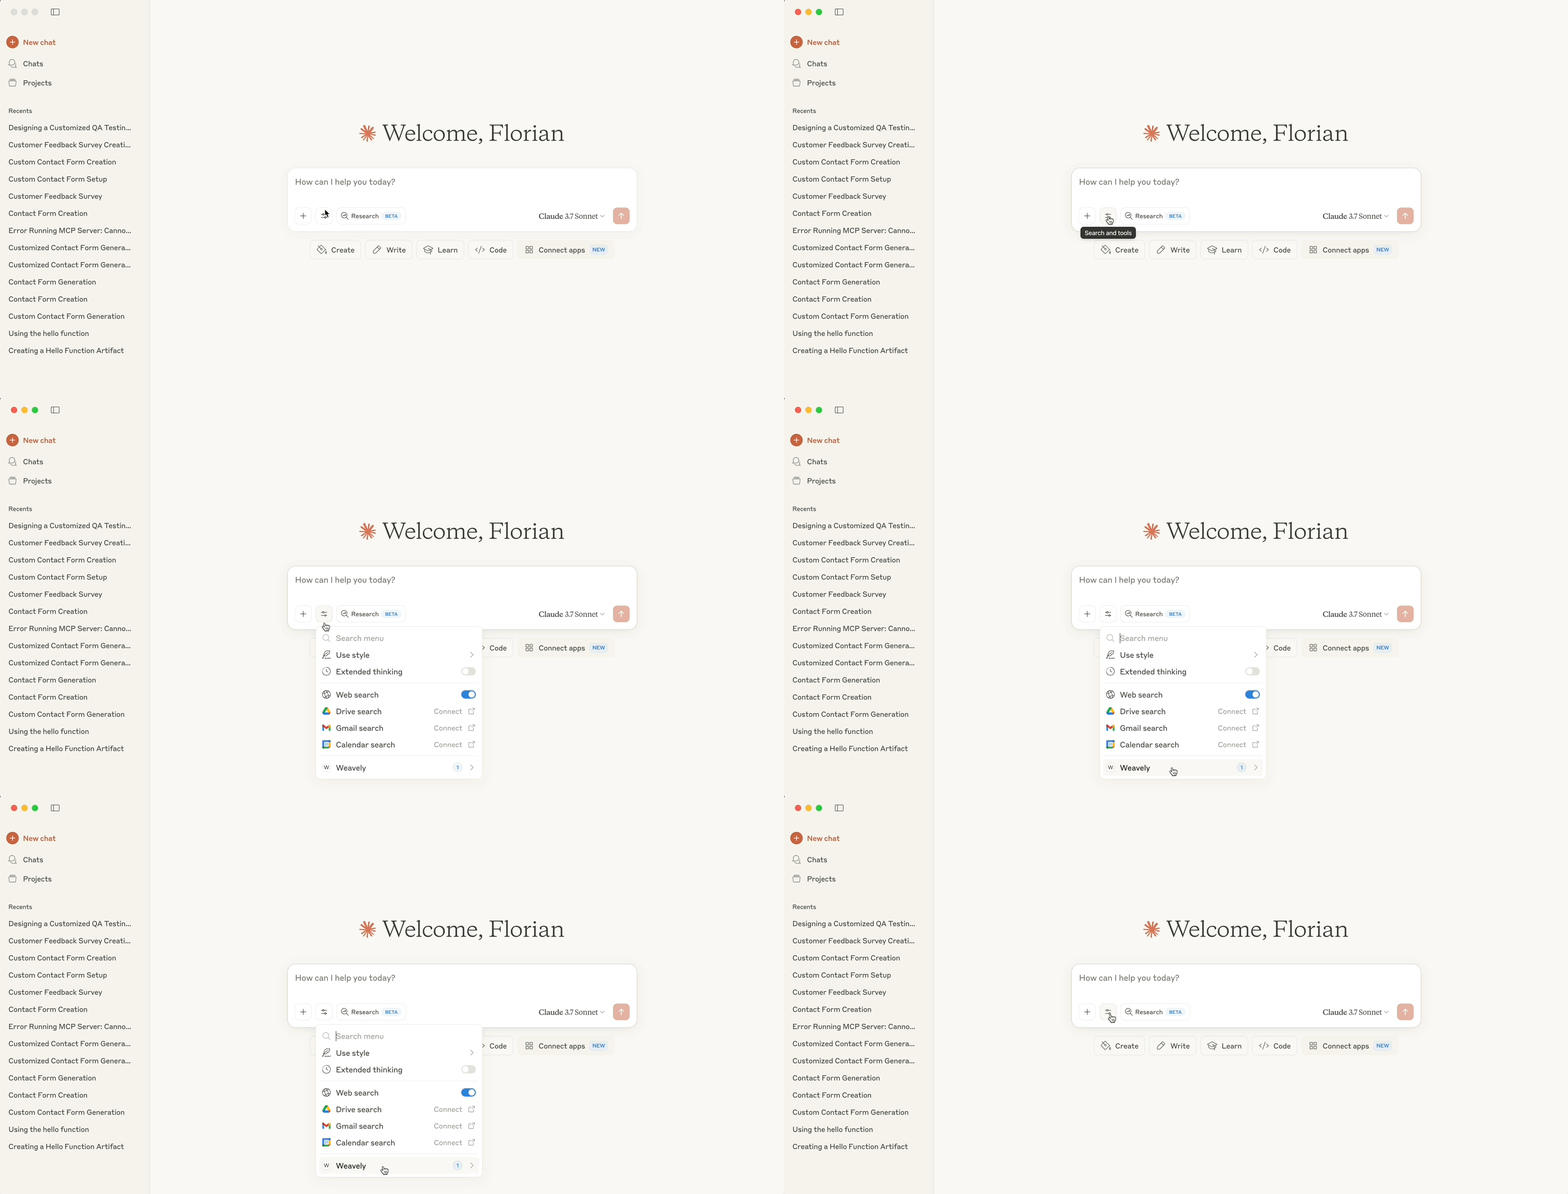
For the integration to be recognized by Claude you'll need to restart the desktop app. After this, you should see it in the "prompt settings" as shown below.

Adding MCP Servers to Claude for Paid Users
Adding integrations and MCP servers to Claude is significantly easier if you have a paid subscription. At the time of writing only users paying for the "Max" plan have access to easier integration setup. Although Anthropic has announced that it will soon also extend integrations to "Pro"-tier users. Here's how to add integrations for Max users in two simple steps:
Step 1: Add the MCP URL to your Integration Settings
Under your account settings you'll find an "Integrations" section. You can add an MCP to Claude by pressing the "+ Add Custom Integration" button. You'll need to give your integration a name and a URL (i.e. the URL on which the MCP server is hosted). In the case of Weavely.ai (AI forms and surveys in Claude) this would look like this:
- Integration Name: Weavely.ai
- Integration URL: https://mcp.weavely.ai/sse
Step 2: Test the Integration
Your integration will automatically be recognized by Claude, and you're ready to test it out. Here's a short video of what that looks like for the Weavely Claude integration:
Free vs Paid: Choosing Your Integration Method
The free-tier method requires manual JSON configuration and restarting Claude, ideal for occasional users or those comfortable with technical setup. The paid-tier integration is simpler, quicker, and designed for frequent or professional users who prefer a seamless experience.
Frequently Asked Questions (FAQ)
Can I set up integrations in Claude for free?
Yes, you can manually configure integrations via a JSON file on Claude’s free tier. However, this is only available in the Claude desktop app.
How easy is it to set up integrations on Claude’s paid tier?
Very easy, just go to Settings->Integrations, press "+ Add Custom Integration" and enter your MCP server's URL.
Will Claude automatically recognize my MCP server after integration?
Yes, once integrated, Claude will automatically recognize and use your MCP server based on your prompts.

